How to Fix a Flat Tire on a Bicycle

Knowing how to change a flat tire is a useful skill, especially if you’re going on longer rides or don’t have a local bike shop nearby. It can be daunting at first, but it’s easier than you think! All it takes is some practice.

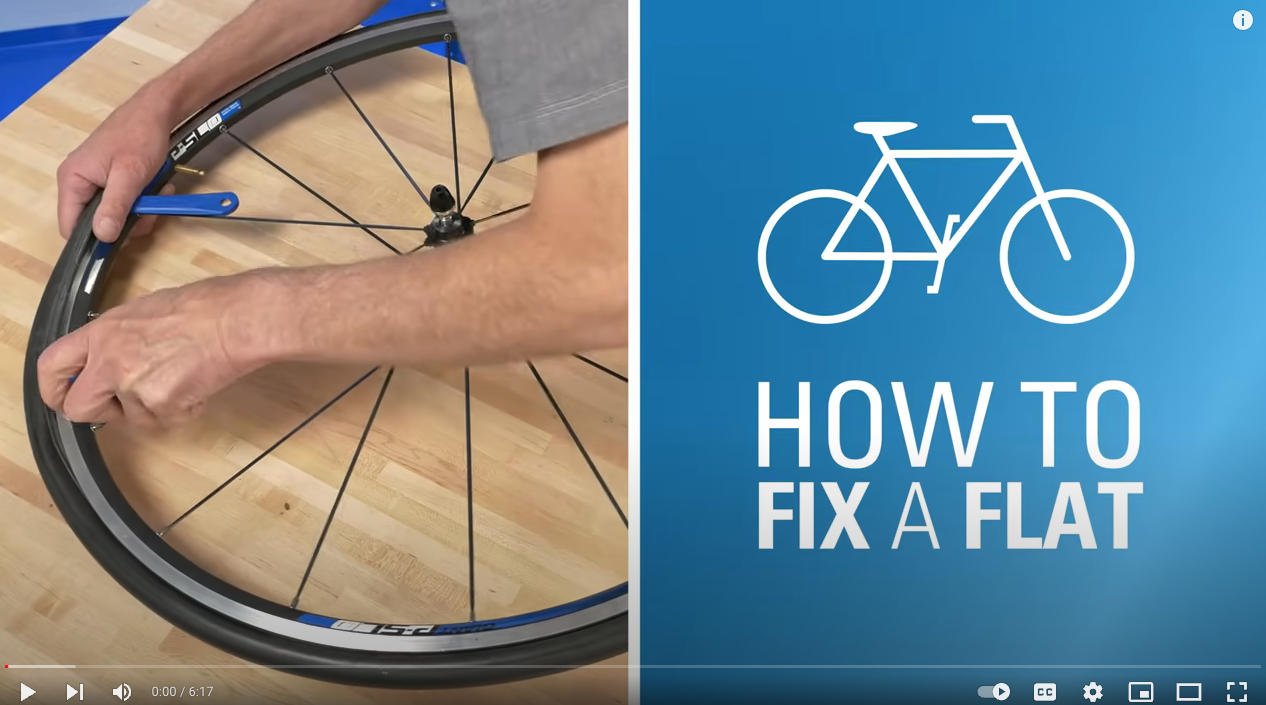
Our friends at Park Tools have a great basic overview of how to repair a flat tire on a bike. Read on for step by step instructions!

What you need:

  • Tire levers
  • Air pump
  • Wrench (for non-quick-release type wheels)
  • Replacement tube and/or tire
  • A repair stand can be helpful, but not necessary

How to:

  1. Remove your wheel
    1. Rear Wheel: Shift derailleur to the outermost gear and innermost front chain ring to give you chain slack.
    2. Disengage any rim brakes.
    3. Disengage the wheel from your frame.
      1. Quick Release: pull outward on end of quick-release skewer lever. If necessary, loosen quick-release adjusting nut to clear any tabs at end of fork.
      2. Thru Axle: some function similarly to quick-release axle – pull lever outward to disengage and turn to loosen. Some thru axles are equipped with a special fitting that must be engaged to loosen the axle. Still others are simple levers that turn to loosen or tighten – no engagement or disengagement is necessary.
      3. Solid Axle: For wheels with axle nuts, loosen both nuts outside of dropouts.
    4. On a front wheel, guide the wheel down and out of the fork. For rear wheels, pull back on the rear derailleur to allow the cogs to clear the chain and lower the wheel.
  2. Deflate your tube completely
  3. Remove your tire
    1. Push one side of the tire inwards, close to the rim of your wheel, to help loosen the tire bead from the rim. Do this around the entire wheel.
    2. Push one tire lever under the bead of the tire, between the tire and the rim of the wheel. It can be helpful to do this near the valve stem.
    3. Insert the second tire lever under the bead of the tire a few inches away from the first one, between the tire and rim of the wheel.
    4. Pull both levers toward spokes to lift the bead off the rim. Move one lever a few inches along the rim and lift the next section, proceeding around the wheel.
    5. Starting opposite the valve, pull the tube from the tire. Lift the valve from the valve hole to full remove the tube.
    6. Remove the tire completely to fully inspect the tire for any cuts or holes.
      1. You may be able to use a tube or tire patch kit to fix any small holes or cuts, but replacing the tube is always the safest and most reliable option.
  4. Inspect the wheel rim for any sharp edges or protruding spokes. No point in replacing a tube if your wheel rim is damaged!
  5. Install your tube
    1. Inflate tube enough to hold its shape
    2. Install tube inside tire, with valve adjacent to air pressure recommendations written on the sidewall of the tire.
  6. Lower tire and valve into rim valve hole. Note any directional arrows on your tire and orient the tire appropriately.
    1. Make sure to keep your valve pointing straight towards the hub of your wheel!
  7. Install one side of the tire bead at a time. You can use your tire lever carefully and strategically to help work the tire in, but be careful and avoid pinching your tube.
  8. Once both sides of your tire are installed properly, inflate the tube to low pressure and inspect each side for any bulging, inner tube sticking out, or inconsistencies. You may need to deflate the tube and reinstall the tube and tire.
  9. Once everything looks ok, inflate your tube to full pressure.
  10. Reinstall your wheel
    1. Work backwards from how you removed your wheel!
    2. Make sure any quick-release levers are tightened and your wheel is secure.
    3. Re-engage brakes.
    4. Make sure your wheel is centered in the frame or fork.

And now you’ve changed your tube and tire!

Want some practice? Volunteer with our New Standard Cycles Crew on Thursdays from 6:30-8:30 p.m. and Sundays from 2-4 p.m. and help fix up bikes while learning some new skills.

Learn more tips on our Resources Page.

This blog post is produced thanks to support from the Governor’s Office of Highway Safety.
Get ready for a ride with your ABCs!

We’ve all had this happen — you get dressed, you put your helmet on, make sure your lights are charged, and as soon as you roll your bike out the door you notice the tires are flat. Or even worse, you get halfway to your destination and notice that you’re losing air — or your brakes are squeaking.

Familiarizing yourself with basic bike maintenance will help you whether you’re commuting to work every day or riding recreationally, and will help keep you safe. And the first part is as simple as knowing your ABCs! Performing the ABC Quick Check before heading out on your ride ensures your bike is safe to ride, and helps you notice when anything might go wrong.

A is for Air

Make sure your tires are inflated to the pressure listed on the side of the tire

When your tires are correctly inflated, use your thumb to gently push on the outside edge and feel the pressure. This will help you quickly gauge if you need air in the future!

Check for damage on your tire and replace if it is too worn

B is for Brakes

Inspect your brake pads for wear, replace if there is less than 1/4″ of pad left

Check pad adjustment and make sure they don’t rub the tire

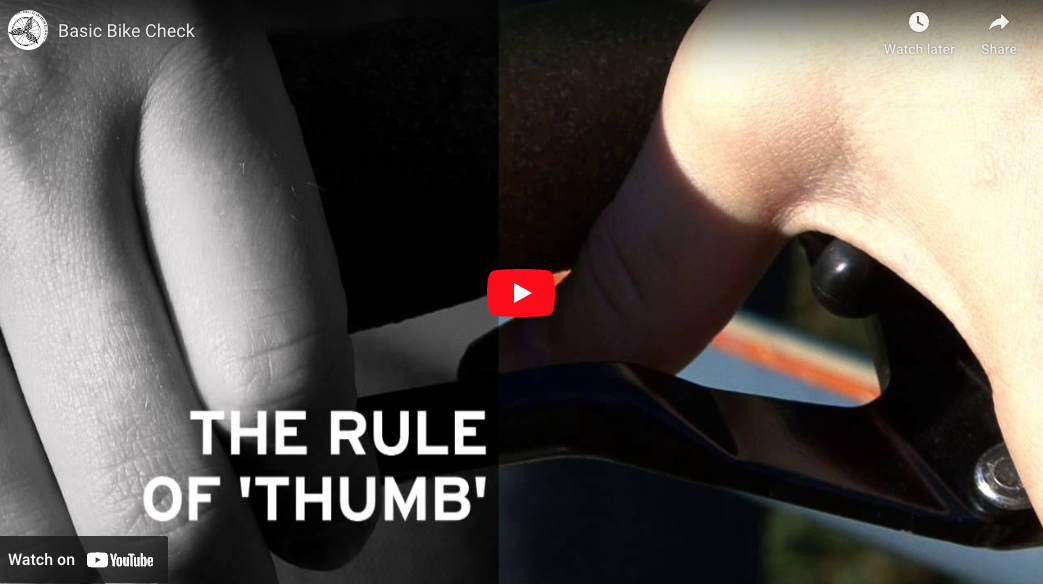
Look to see that you can fit your thumb between the brake lever and handlebar when the brakes are squeezed all the way — this means they’re properly adjusted

C is for Cranks and Chain

Pull on your cranks/pedals away from the bike — if they are loose, tighten the bolt.

Check that your chain is free of rust, gunk and any debris

Quick is for Quick Releases

Make sure all your quick release levers are closed (check your wheels and seat!)

They should all be pointing down and towards the back of your bike, so they don’t get caught on anything.

And then CHECK it all over!

Take a quick roll around to make sure everything is working properly, and if you’re carrying any cargo that you’re well balanced.


More of a visual learner? Check out this video from our friends at the League of American Bicyclists:

Learn more tips on our Resources Page.


This blog post is produced thanks to support from the Governor’s Office of Highway Safety.
Driving Safely around People Biking

Savannah’s level topography, dense urban form, and warm weather make it a great place to get around by bike. However, Savannah also has a high rate of traffic crashes involving people on bikes.

Tips for Safe Driving Near Bicyclists

React to bicyclists as you would any other vehicle. You wouldn’t drive inches next to another car, so why would you drive so close to a person on a bike?

Don’t park in bike lanes or blocking access to multiuse paths. It may just be “for a minute”, but that minute could be the difference in someone biking safely to their destination and being put in unnecessary conflict with another driver.

If there is oncoming traffic, slow down and wait to pass until traffic clears.

  • Check for bicyclists in your blind spots
  • When driving a larger vehicle, allow extra room for mirrors, extended wheel wells, trailers, etc.
  • Large profile vehicles can create a windblast, which can knock a bicyclist off the road
  • Return to your lane when the bicyclist is in your rearview mirror
  • Do not attempt to “squeeze by”

Do not past a bicyclist before a red light or stop sign, hill, or immediately before you make a right turn.

Give at least 3 feet of space! According to the updated 3 ft to pass law, updated July 2021:

  • A driver passing a person on a bike should change lanes if road and traffic conditions allow
    • Includes allowance to pass on a double yellow when conditions are safe to do so
    • No passing into blind turns, blind hills, or oncoming traffic
  • When it is not safe to change lanes, a driver is required to slow down to 25 mph or 10 mph below the posted speed limit, whichever is greater, to execute a safe pass within the lane and shared space
  • Violations of the law carry a maximum fine of $250 as a misdemeanor offense
  • Under Georgia law, a video recording of an act is valid as a witness for enforcement of violations

Don’t drive distracted or under the influence. Again, it’s the law!

Consider driving conditions. Whether it’s raining or sunny, there’s something happening that can influence your driving. Make sure to slow down or give yourself extra room if you need it, and consider pulling over rather than powering through if conditions are dangerous.

Avoid illegal courtesies, like encouraging someone to ride through a stop sign in front of you. They may be able to see further down the street than you, or may take more time to get rolling, which can cause everyone to get frustrated.

Know where kids are biking. Children may not know the rules of the road so slow down and pay extra attention when driving in areas where children can be expected.

Interested in learning more about being a Bicycle and Pedestrian Friendly Driver? Sign up for an upcoming class or view our webinar here!


This blog post is produced thanks to support from the Governor’s Office of Highway Safety.
Do you know your ABCs?

We’ve all had this happen — you get dressed, you put your helmet on, make sure your lights are charged, and as soon as you roll your bike out the door you notice the tires are flat. Or even worse, you get halfway to your destination and notice that you’re losing air — or your brakes are squeaking.

Familiarizing yourself with basic bike maintenance will help you whether you’re commuting to work every day or riding recreationally, and will help keep you safe. And the first part is as simple as knowing your ABCs! Performing the ABC Quick Check before heading out on your ride ensures your bike is safe to ride, and helps you notice when anything might go wrong.

A is for Air

Make sure your tires are inflated to the pressure listed on the side of the tire

When your tires are correctly inflated, use your thumb to gently push on the outside edge and feel the pressure. This will help you quickly gauge if you need air in the future!

Check for damage on your tire and replace if it is too worn

B is for Brakes

Inspect your brake pads for wear, replace if there is less than 1/4″ of pad left

Check pad adjustment and make sure they don’t rub the tire

Look to see that you can fit your thumb between the brake lever and handlebar when the brakes are squeezed all the way — this means they’re properly adjusted

C is for Cranks and Chain

Pull on your cranks/pedals away from the bike — if they are loose, tighten the bolt.

Check that your chain is free of rust, gunk and any debris

Quick is for Quick Releases

Make sure all your quick release levers are closed (check your wheels and seat!)

They should all be pointing down and towards the back of your bike, so they don’t get caught on anything.

And then CHECK it all over!

Take a quick roll around to make sure everything is working properly, and if you’re carrying any cargo that you’re well balanced.


More of a visual learner? Check out this video from our friends at the League of American Bicyclists:

Learn more tips on our Resources Page.

Visit joesteffen.com/bicycle-law for more information.


This blog post is produced thanks to support from the Governor’s Office of Highway Safety.
Bikes 101: Learn about derailleur adjustment, winter weather riding on Dec. 17

bikes1011214

The final installment of this year’s Bikes 101 educational series (Don’t worry, it continues next year!) is scheduled for Dec. 17 at 7 p.m. This month’s session  will focus on derailleurs and riding in winter weather. Bikes 101 is free and open to the public and held in our New Standard Cycles space at 1301 A Lincoln St.

Email Jen Colestock for more information or join the Facebook event.