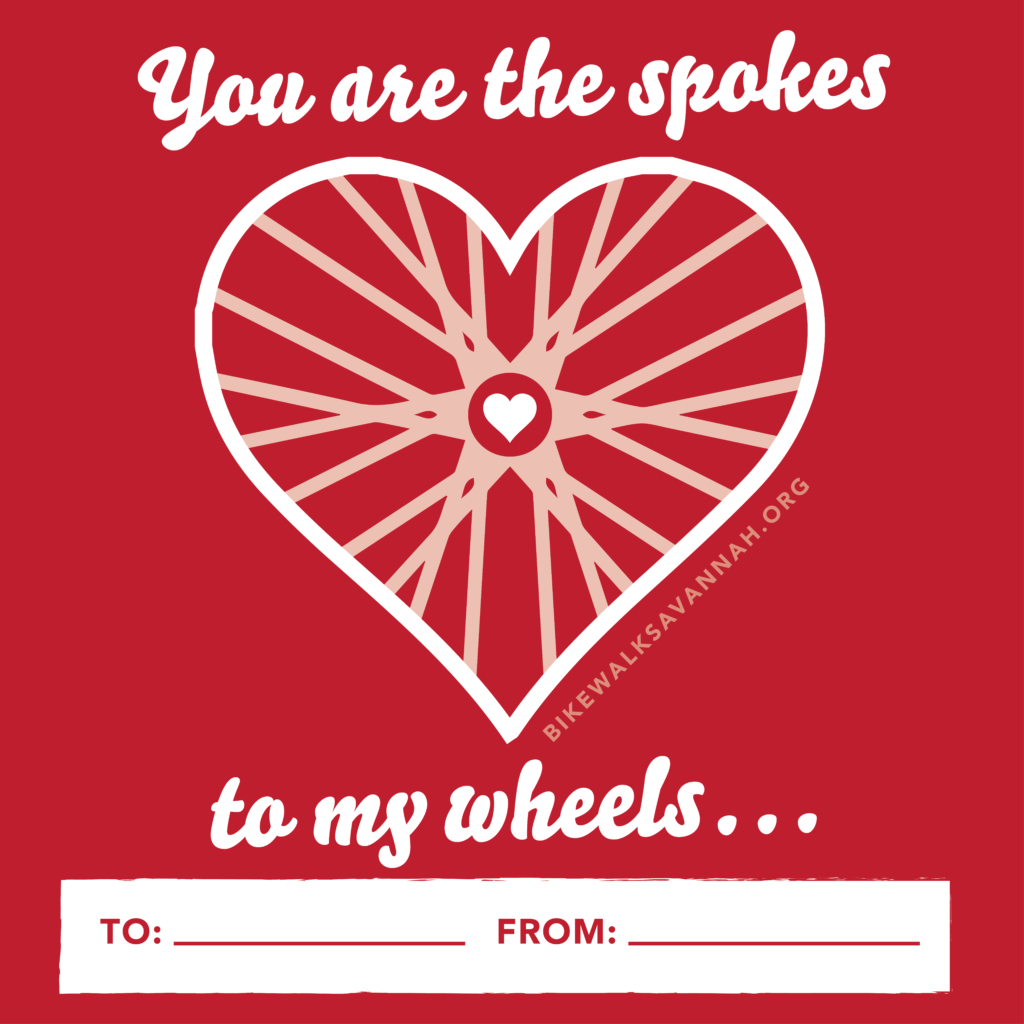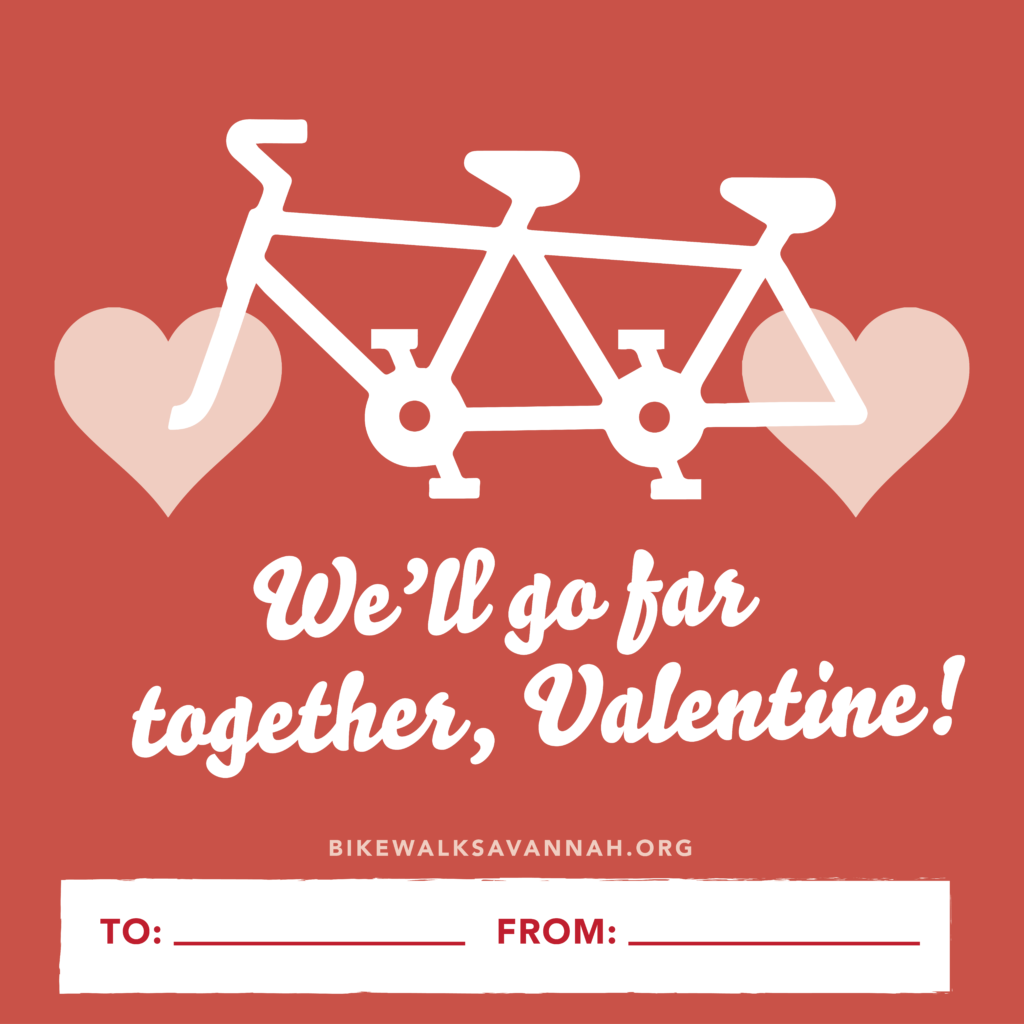

Look no further for some great Valentine’s to send to your loved ones! Happy Valentine’s Day from your friends at Bike Walk Savannah.


Look no further for some great Valentine’s to send to your loved ones! Happy Valentine’s Day from your friends at Bike Walk Savannah.
Our Society of Important Cycling Knowledge (S.I.C.K.) is back with a quick tip on how to fix your flat tire!
Knowing how to change a flat tire is a useful skill, especially if you’re going on longer rides or don’t have a local bike shop nearby. It can be daunting at first, but it’s easier than you think! All it takes is some practice.
Our friends at Park Tools have a great basic overview of how to repair a flat tire on a bike. Read on for step by step instructions!
What you need:
How to:
And now you’ve changed your tube and tire!
Want some practice? Volunteer with our New Standard Cycles Crew on Thursdays from 6:30-8:30 p.m. and Sundays from 2-4 p.m. and help fix up bikes while learning some new skills.
Learn more tips on our Resources Page.
Interested in putting your skills to the test? Stop by our New Standard Cycles volunteer sessions on Thursdays from 6-8 p.m. and Sundays from 2-4 p.m., and fix up bikes for people in need!

This blog post is produced thanks to support from the Governor’s Office of Highway Safety.
If you ride your bike in downtown Savannah, you’ve definitely come across some railroad tracks! Here’s how to cross them safely so your ride continues without a hitch.
Small tires — like on bicycles, wheelchairs, skateboards or skates – can become stuck when in-street tracks are crossed at too low an angle. Always pay attention to the angle of your wheels when you cross!
We’ve all had this happen — you get dressed, you put your helmet on, make sure your lights are charged, and as soon as you roll your bike out the door you notice the tires are flat. Or even worse, you get halfway to your destination and notice that you’re losing air — or your brakes are squeaking.
Familiarizing yourself with basic bike maintenance will help you whether you’re commuting to work every day or riding recreationally, and will help keep you safe. And the first part is as simple as knowing your ABCs! Performing the ABC Quick Check before heading out on your ride ensures your bike is safe to ride, and helps you notice when anything might go wrong.
Make sure your tires are inflated to the pressure listed on the side of the tire
When your tires are correctly inflated, use your thumb to gently push on the outside edge and feel the pressure. This will help you quickly gauge if you need air in the future!
Check for damage on your tire and replace if it is too worn
Inspect your brake pads for wear, replace if there is less than 1/4″ of pad left
Check pad adjustment and make sure they don’t rub the tire
Look to see that you can fit your thumb between the brake lever and handlebar when the brakes are squeezed all the way — this means they’re properly adjusted
Pull on your cranks/pedals away from the bike — if they are loose, tighten the bolt.
Check that your chain is free of rust, gunk and any debris
Make sure all your quick release levers are closed (check your wheels and seat!)
They should all be pointing down and towards the back of your bike, so they don’t get caught on anything.
Take a quick roll around to make sure everything is working properly, and if you’re carrying any cargo that you’re well balanced.
More of a visual learner? Check out this video from our friends at the League of American Bicyclists:
Learn more tips on our Resources Page.

This blog post is produced thanks to support from the Governor’s Office of Highway Safety.
We’ve all had this happen — you get dressed, you put your helmet on, make sure your lights are charged, and as soon as you roll your bike out the door you notice the tires are flat. Or even worse, you get halfway to your destination and notice that you’re losing air — or your brakes are squeaking.
Familiarizing yourself with basic bike maintenance will help you whether you’re commuting to work every day or riding recreationally, and will help keep you safe. And the first part is as simple as knowing your ABCs! Performing the ABC Quick Check before heading out on your ride ensures your bike is safe to ride, and helps you notice when anything might go wrong.
Make sure your tires are inflated to the pressure listed on the side of the tire
When your tires are correctly inflated, use your thumb to gently push on the outside edge and feel the pressure. This will help you quickly gauge if you need air in the future!
Check for damage on your tire and replace if it is too worn
Inspect your brake pads for wear, replace if there is less than 1/4″ of pad left
Check pad adjustment and make sure they don’t rub the tire
Look to see that you can fit your thumb between the brake lever and handlebar when the brakes are squeezed all the way — this means they’re properly adjusted
Pull on your cranks/pedals away from the bike — if they are loose, tighten the bolt.
Check that your chain is free of rust, gunk and any debris
Make sure all your quick release levers are closed (check your wheels and seat!)
They should all be pointing down and towards the back of your bike, so they don’t get caught on anything.
Take a quick roll around to make sure everything is working properly, and if you’re carrying any cargo that you’re well balanced.
More of a visual learner? Check out this video from our friends at the League of American Bicyclists:
Learn more tips on our Resources Page.
Visit joesteffen.com/bicycle-law for more information.

This blog post is produced thanks to support from the Governor’s Office of Highway Safety.
The Savannah Bicycle Campaign is featuring people who ride their bikes for work, play — and everything in-between. They may ride rain or shine, or they may hit two wheels on the weekends. But no matter what, they know what they love about riding in Savannah — and what can be improved.
Follow along on our blog and our Instagram account as we share some top shots they’ve taken from behind their handlebars, their favorite things about riding in our beautiful city, and their hopes and dreams for the future of bicycling.
Interested in sharing your story? Email info@bicyclecampaign.org.
After all, #TodayIsForRiding.
 Our next feature is on bicycle rider extraordinaire (and former New Standard Cycles program manager) Jen Colestock. Jen shares photos of her daily life and commute in Savannah in addition to her long-distance travels on her account @jen_coleslaw. Recently she completed a 2-day ride from Atlanta to Savannah that took her through 26 degree mornings, a 6500 foot elevation change and a frozen camelback over the course of 250 miles.
Jen says… what I love about biking to work is the sounds and smells of the city. I’ve had commutes that led me past coffee roasters, herbal and floral community gardens, music venues and street musicians. I’ve had commutes home during the summer where I’ve ridden through sprinklers. And almost every single commute I ride with or pass people I know.
What could be better? I think that the city has taken some measures for cyclists, like creating a few bike lanes, but those of us that depend on bikes as our sole form of transportation can easily get stuck in the downtown area. It takes a lot of experience and confidence to feel comfortable braving the choke points of Savannah’s infrastructure, where cyclists are forced on busy highways or under underpasses to get to or from work. I look forward to seeing projects like the East Coast Greenway and the Truman Greenway come into being.
Interested in sharing your story? Email info@bicyclecampaign.org.
The Savannah Bicycle Campaign will be doing a new feature on people who ride their bikes for work, play — and everything in-between. They may ride rain or shine, or they may hit two wheels on the weekends. But no matter what, they know what they love about riding in Savannah — and what can be improved.
Follow along on our blog and our Instagram account as we share some top shots they’ve taken from behind their handlebars, their favorite things about riding in our beautiful city, and their hopes and dreams for the future of bicycling.
Interested in sharing your story? Email info@bicyclecampaign.org.
After all, #TodayIsForRiding.

Our first feature is on SBC Volunteer of the Year Gordon Parks. Gordon shares photos of his multi-modal bike and ferry commute under the account @SavannahBikeCommuter, where he rides from South of Forsyth to across the Savannah River. His daily posts demonstrate the need for better, more connected facilities in our community — especially for those approaching areas like Bay and River Streets.
Gordon says: “I enjoy riding my bike to work because it allows me to see Savannah unobstructed by car/truck side pillars, windshields, or roofs. In a car or truck there are so many distractions and I have to be on the watch out constantly for pedestrians, cyclists, and other vehicles. When I’m on a bike I get to relax my use of visual sense and use more of my hearing and sense of smell.”


What does Gordon wish for? “I would love to see all of the Lincoln St. bike lane re-paved and protected… and some smoother ramps or walkways down to River St. A smoother multi-use path on the right or left of each ramp would go a long way. Many times I watch parents with strollers trying to make their way down…most of the times they pick their kids up out of the stroller to prevent the cobble stones from jarring them awake.”
Interested in sharing your story? Email info@bicyclecampaign.org.