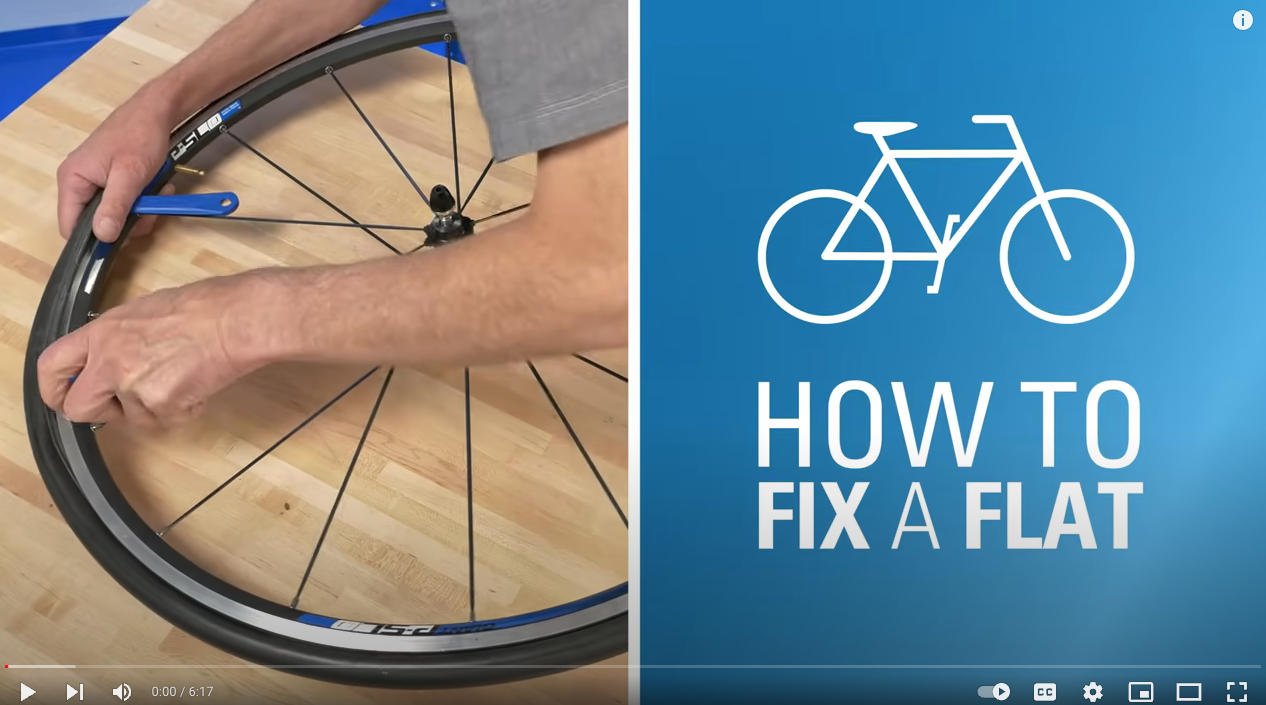
Our Society of Important Cycling Knowledge (S.I.C.K.) is back with a quick tip on how to fix your flat tire!
Knowing how to change a flat tire is a useful skill, especially if you’re going on longer rides or don’t have a local bike shop nearby. It can be daunting at first, but it’s easier than you think! All it takes is some practice.
Our friends at Park Tools have a great basic overview of how to repair a flat tire on a bike. Read on for step by step instructions!
What you need:
- Tire levers
- Air pump
- Wrench (for non-quick-release type wheels)
- Replacement tube and/or tire
- A repair stand can be helpful, but not necessary
How to:
- Remove your wheel
- Rear Wheel: Shift derailleur to the outermost gear and innermost front chain ring to give you chain slack.
- Disengage any rim brakes.
- Disengage the wheel from your frame.
- Quick Release: pull outward on end of quick-release skewer lever. If necessary, loosen quick-release adjusting nut to clear any tabs at end of fork.
- Thru Axle: some function similarly to quick-release axle – pull lever outward to disengage and turn to loosen. Some thru axles are equipped with a special fitting that must be engaged to loosen the axle. Still others are simple levers that turn to loosen or tighten – no engagement or disengagement is necessary.
- Solid Axle: For wheels with axle nuts, loosen both nuts outside of dropouts.
- On a front wheel, guide the wheel down and out of the fork. For rear wheels, pull back on the rear derailleur to allow the cogs to clear the chain and lower the wheel.
- Deflate your tube completely
- Remove your tire
- Push one side of the tire inwards, close to the rim of your wheel, to help loosen the tire bead from the rim. Do this around the entire wheel.
- Push one tire lever under the bead of the tire, between the tire and the rim of the wheel. It can be helpful to do this near the valve stem.
- Insert the second tire lever under the bead of the tire a few inches away from the first one, between the tire and rim of the wheel.
- Pull both levers toward spokes to lift the bead off the rim. Move one lever a few inches along the rim and lift the next section, proceeding around the wheel.
- Starting opposite the valve, pull the tube from the tire. Lift the valve from the valve hole to full remove the tube.
- Remove the tire completely to fully inspect the tire for any cuts or holes.
- You may be able to use a tube or tire patch kit to fix any small holes or cuts, but replacing the tube is always the safest and most reliable option.
- Inspect the wheel rim for any sharp edges or protruding spokes. No point in replacing a tube if your wheel rim is damaged!
- Install your tube
- Inflate tube enough to hold its shape
- Install tube inside tire, with valve adjacent to air pressure recommendations written on the sidewall of the tire.
- Lower tire and valve into rim valve hole. Note any directional arrows on your tire and orient the tire appropriately.
- Make sure to keep your valve pointing straight towards the hub of your wheel!
- Install one side of the tire bead at a time. You can use your tire lever carefully and strategically to help work the tire in, but be careful and avoid pinching your tube.
- Once both sides of your tire are installed properly, inflate the tube to low pressure and inspect each side for any bulging, inner tube sticking out, or inconsistencies. You may need to deflate the tube and reinstall the tube and tire.
- Once everything looks ok, inflate your tube to full pressure.
- Reinstall your wheel
- Work backwards from how you removed your wheel!
- Make sure any quick-release levers are tightened and your wheel is secure.
- Re-engage brakes.
- Make sure your wheel is centered in the frame or fork.
And now you’ve changed your tube and tire!
Want some practice? Volunteer with our New Standard Cycles Crew on Thursdays from 6:30-8:30 p.m. and Sundays from 2-4 p.m. and help fix up bikes while learning some new skills.
Learn more tips on our Resources Page.
Interested in putting your skills to the test? Stop by our New Standard Cycles volunteer sessions on Thursdays from 6-8 p.m. and Sundays from 2-4 p.m., and fix up bikes for people in need!

This blog post is produced thanks to support from the Governor’s Office of Highway Safety.


