Look no further for some great Valentine’s to send to your loved ones! Happy Valentine’s Day from your friends at Bike Walk Savannah.
S.I.C.K. Tips: How to Fix a Flat Tire on a Bicycle
Our Society of Important Cycling Knowledge (S.I.C.K.) is back with a quick tip on how to fix your flat tire!
Knowing how to change a flat tire is a useful skill, especially if you’re going on longer rides or don’t have a local bike shop nearby. It can be daunting at first, but it’s easier than you think! All it takes is some practice.
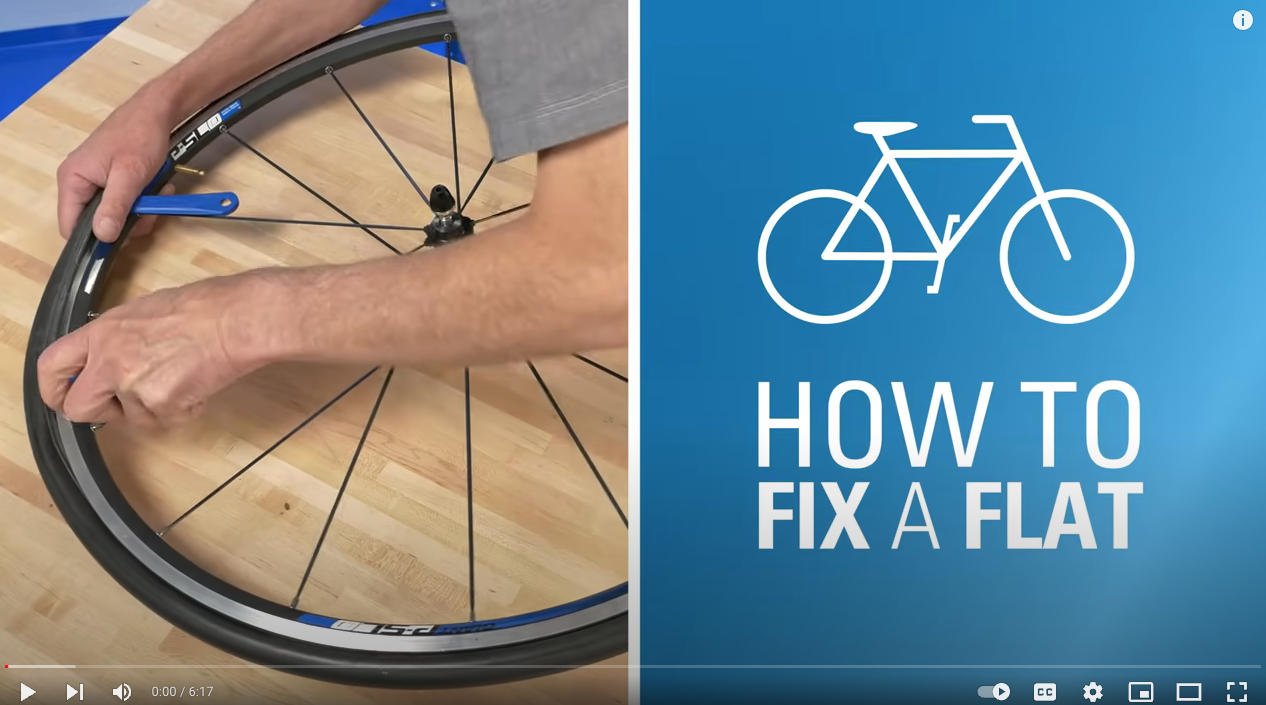
Our friends at Park Tools have a great basic overview of how to repair a flat tire on a bike. Read on for step by step instructions!
What you need:
- Tire levers
- Air pump
- Wrench (for non-quick-release type wheels)
- Replacement tube and/or tire
- A repair stand can be helpful, but not necessary
How to:
- Remove your wheel
- Rear Wheel: Shift derailleur to the outermost gear and innermost front chain ring to give you chain slack.
- Disengage any rim brakes.
- Disengage the wheel from your frame.
- Quick Release: pull outward on end of quick-release skewer lever. If necessary, loosen quick-release adjusting nut to clear any tabs at end of fork.
- Thru Axle: some function similarly to quick-release axle – pull lever outward to disengage and turn to loosen. Some thru axles are equipped with a special fitting that must be engaged to loosen the axle. Still others are simple levers that turn to loosen or tighten – no engagement or disengagement is necessary.
- Solid Axle: For wheels with axle nuts, loosen both nuts outside of dropouts.
- On a front wheel, guide the wheel down and out of the fork. For rear wheels, pull back on the rear derailleur to allow the cogs to clear the chain and lower the wheel.
- Deflate your tube completely
- Remove your tire
- Push one side of the tire inwards, close to the rim of your wheel, to help loosen the tire bead from the rim. Do this around the entire wheel.
- Push one tire lever under the bead of the tire, between the tire and the rim of the wheel. It can be helpful to do this near the valve stem.
- Insert the second tire lever under the bead of the tire a few inches away from the first one, between the tire and rim of the wheel.
- Pull both levers toward spokes to lift the bead off the rim. Move one lever a few inches along the rim and lift the next section, proceeding around the wheel.
- Starting opposite the valve, pull the tube from the tire. Lift the valve from the valve hole to full remove the tube.
- Remove the tire completely to fully inspect the tire for any cuts or holes.
- You may be able to use a tube or tire patch kit to fix any small holes or cuts, but replacing the tube is always the safest and most reliable option.
- Inspect the wheel rim for any sharp edges or protruding spokes. No point in replacing a tube if your wheel rim is damaged!
- Install your tube
- Inflate tube enough to hold its shape
- Install tube inside tire, with valve adjacent to air pressure recommendations written on the sidewall of the tire.
- Lower tire and valve into rim valve hole. Note any directional arrows on your tire and orient the tire appropriately.
- Make sure to keep your valve pointing straight towards the hub of your wheel!
- Install one side of the tire bead at a time. You can use your tire lever carefully and strategically to help work the tire in, but be careful and avoid pinching your tube.
- Once both sides of your tire are installed properly, inflate the tube to low pressure and inspect each side for any bulging, inner tube sticking out, or inconsistencies. You may need to deflate the tube and reinstall the tube and tire.
- Once everything looks ok, inflate your tube to full pressure.
- Reinstall your wheel
- Work backwards from how you removed your wheel!
- Make sure any quick-release levers are tightened and your wheel is secure.
- Re-engage brakes.
- Make sure your wheel is centered in the frame or fork.
And now you’ve changed your tube and tire!
Want some practice? Volunteer with our New Standard Cycles Crew on Thursdays from 6:30-8:30 p.m. and Sundays from 2-4 p.m. and help fix up bikes while learning some new skills.
Learn more tips on our Resources Page.
Interested in putting your skills to the test? Stop by our New Standard Cycles volunteer sessions on Thursdays from 6-8 p.m. and Sundays from 2-4 p.m., and fix up bikes for people in need!
This blog post is produced thanks to support from the Governor’s Office of Highway Safety.
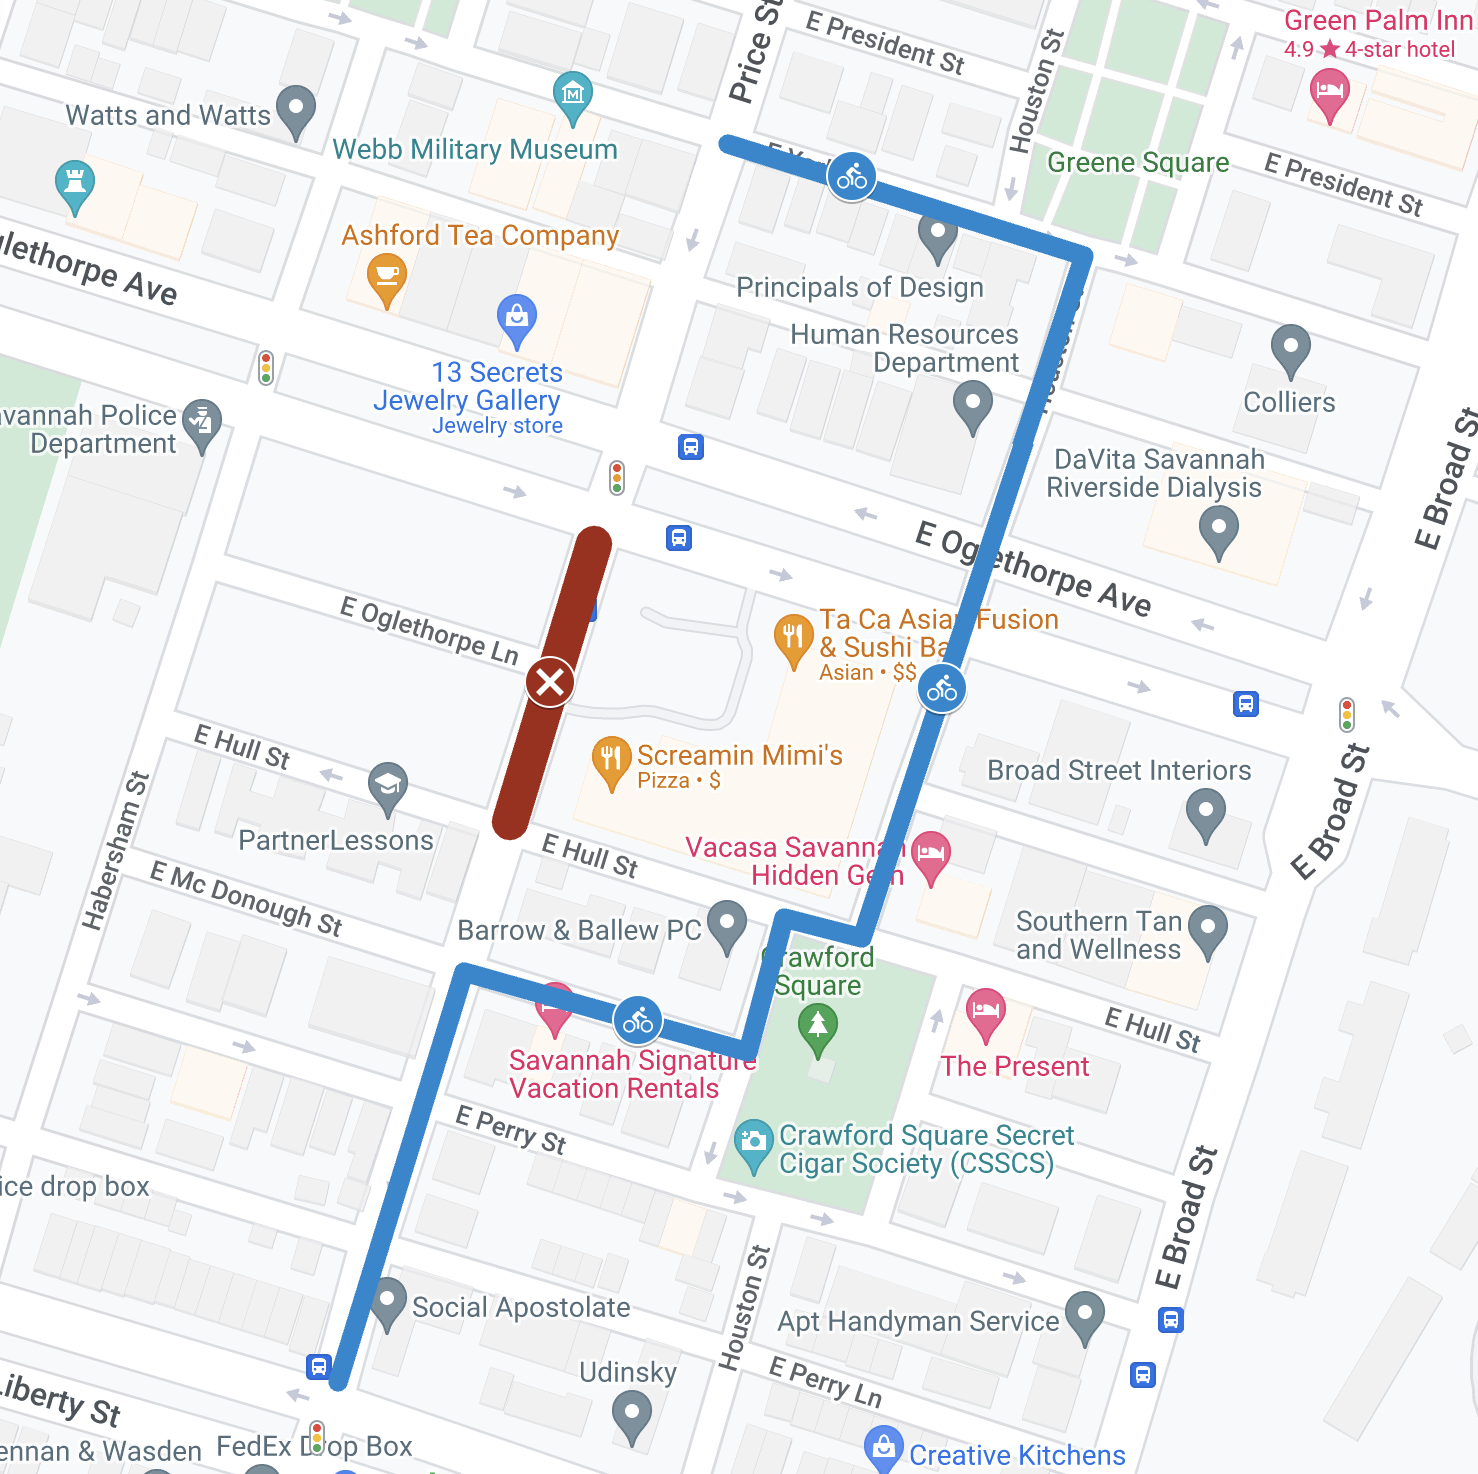
Price St. Closure – Jan. 29-Feb. 14
The City of Savannah has announced that Price St. will be closed between Oglethorpe Ave. and Hull St. from 9 a.m. until 4 p.m. daily beginning Monday, Jan. 29 until Wednesday, Feb. 14 for utility work.
Traffic will be detoured to E. Broad St. We recommend that bicyclists detour to Houston St.
From Price St (Before Oglethorpe):
- Turn left on E. York St.
- Turn right on Houston St.
- Cross Oglethorpe Ave.
- Turn right on E. Hull St.
- Continue around square
- Turn right on E. Mc Donough St.
- Turn left on Price St.
You can also cross Oglethorpe at Price St. and then turn right on Houston St. instead of continuing to E. Broad St.
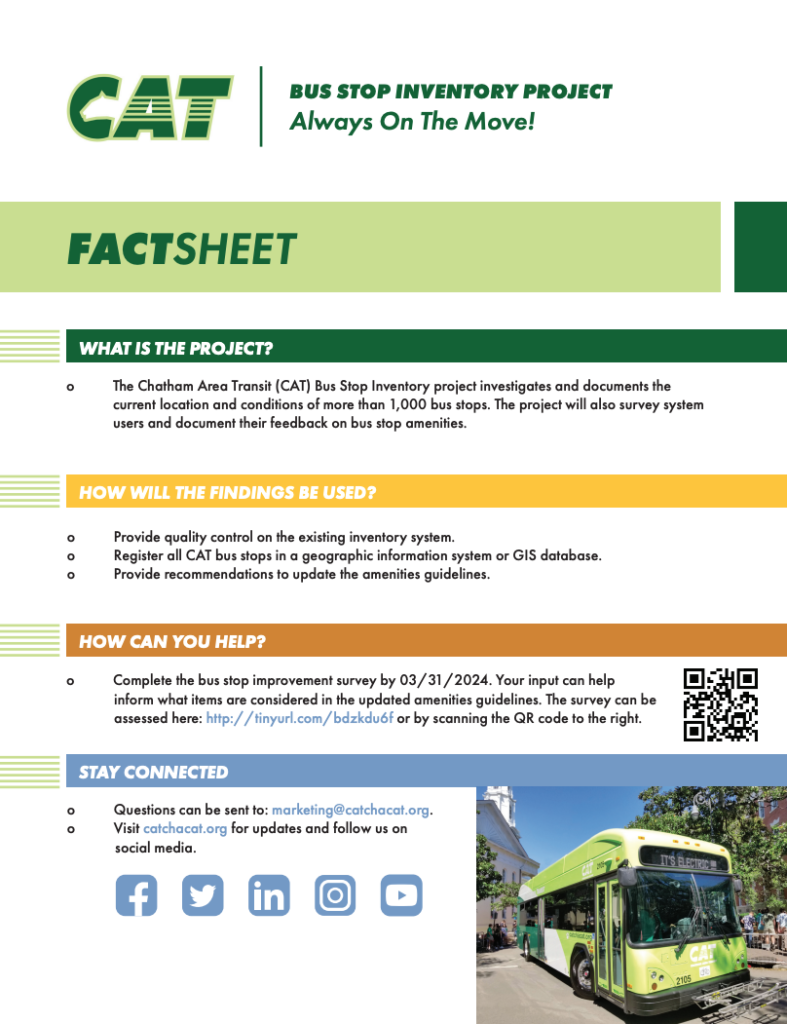
CAT to Hold Public Meetings on Bus Stop Inventory Project
Chatham Area Transit (CAT) is seeking public input on the condition of the system’s bus stops, to assist in the overall update of Chatham’s Transportation System. The Chatham Area Transit Bus Stop Inventory project, currently underway, investigates and documents the current location and conditions of more than 1,000 bus stops and compiles them in a geographic information system (GIS) database. In addition, CAT is going through the process of updating its amenities guidelines for the first time since 2011.
Chatham Area Transit delivers public transportation services that connect people to the places they need and want to go reliably, safely, and sustainably.
CAT will host public meetings at the Joe Murray Rivers Jr., Intermodal Transit Center, located at 610 W. Oglethorpe Ave., on Thursday, Jan. 18, 2024, at 6 p.m. and Tuesday, March 19, 2024, at 6 p.m. There will be no formal presentation. These meetings will provide the public an opportunity to preview the inventory findings and provide input on recommended bus stop improvements.
“We want to hear from every user of the bus system. Your feedback is critical to help us get projects programmed and to upgrade our facilities,” said Executive Director and CEO Faye DiMassimo.
In addition to the in-person meetings, the public can provide input by completing the bus stop improvement survey at http://tinyurl.com/bdzkdu6f. Surveys will be accepted until March 31, 2024.
Pick Your Parking
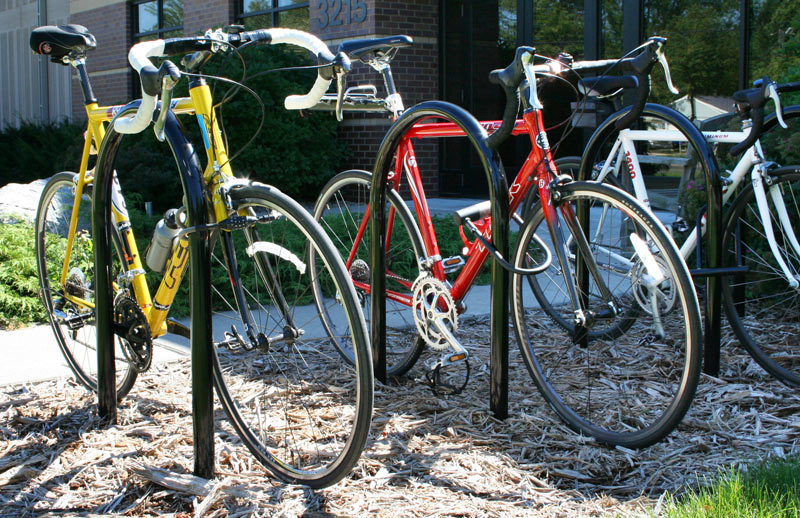
Nothing ruins your ride faster than having your bike stolen! Here are some steps you can take to seriously reduce the likelihood of that happening.
- Use a U-lock. Cable locks can be cut more easily than you might think. Cheaper and older U-locks can often be broken without any tools. Sourcing your U-lock from a local bike shop is a good way to make sure you’re buying a quality product.
- Don’t make it easy to steal! Bike thieves love low hanging fruit, and nothing deters them like the presence of a quality lock. Many thefts are crimes of opportunity, so make your bike the hardest one on the rack to steal.
- Lock the frame first. Try to secure the wheels and seat, too. Your bike frame happens to be the most expensive part; make sure you lock it to something secure. Use a secondary cable to lock the wheels and seat. In many cases a U-lock can be used to lock both the frame and rear wheel. Accessories (lights, pumps, etc) are commonly stolen items. Take them with you.
- Your lock is only as good as what it is locked to. Make sure whatever you locked up to isn’t going anywhere. Be mindful that trees and wood can be cut or kicked through.
- Your garage, shed, or storage room isn’t as safe as you think. Even if you have parked your bike in a “secure location” be sure to lock it to something. Bikes are commonly stolen from garages or shared basements.
- Document it! Take pictures of your bike, record the serial number, and where possible list your bike on your insurance.
- After you’ve done that, make sure to register your bike with Savannah Police Department and Bike Index. The Bike Index makes stolen bikes harder to sell and easier to recover by making sure important information about your bike is there when you need it the most. The process is simple, secure, and free.
Need to find available bike parking in Savannah? Check out our map below. If you find a rack that isn’t on our map, please submit it to info@bikewalksavannah.org.
Learn more tips on our Resources Page.
This blog post is produced thanks to support from the Governor’s Office of Highway Safety.
Get ready for your ride with the ABC Quick Check!
We’ve all had this happen — you get dressed, you put your helmet on, make sure your lights are charged, and as soon as you roll your bike out the door you notice the tires are flat. Or even worse, you get halfway to your destination and notice that you’re losing air — or your brakes are squeaking.
Familiarizing yourself with basic bike maintenance will help you whether you’re commuting to work every day or riding recreationally, and will help keep you safe. And the first part is as simple as knowing your ABCs! Performing the ABC Quick Check before heading out on your ride ensures your bike is safe to ride, and helps you notice when anything might go wrong.
A is for Air
Make sure your tires are inflated to the pressure listed on the side of the tire
When your tires are correctly inflated, use your thumb to gently push on the outside edge and feel the pressure. This will help you quickly gauge if you need air in the future!
Check for damage on your tire and replace if it is too worn
B is for Brakes
Inspect your brake pads for wear, replace if there is less than 1/4″ of pad left
Check pad adjustment and make sure they don’t rub the tire
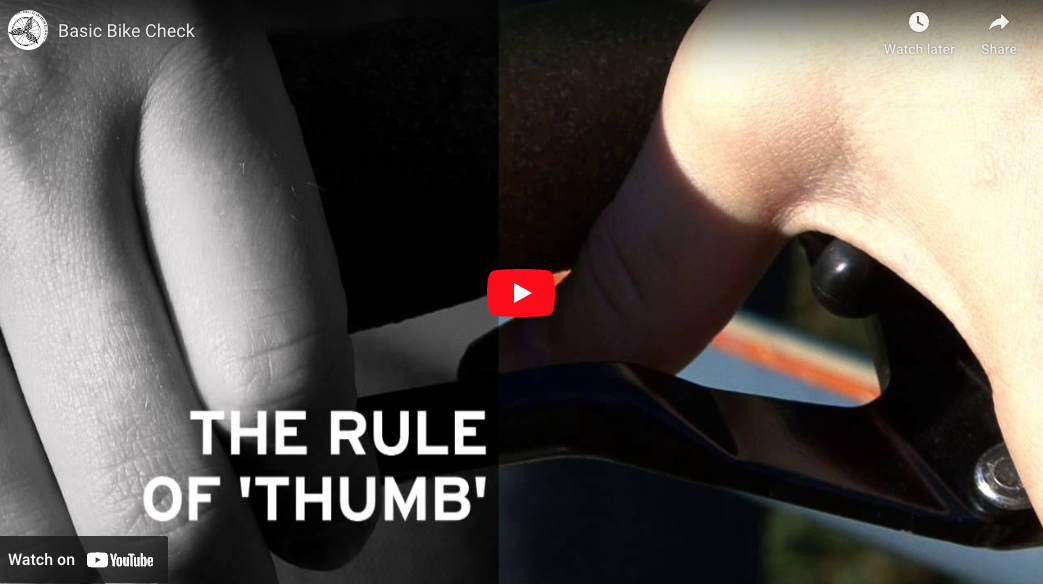
Look to see that you can fit your thumb between the brake lever and handlebar when the brakes are squeezed all the way — this means they’re properly adjusted
C is for Cranks and Chain
Pull on your cranks/pedals away from the bike — if they are loose, tighten the bolt.
Check that your chain is free of rust, gunk and any debris
Quick is for Quick Releases
Make sure all your quick release levers are closed (check your wheels and seat!)
They should all be pointing down and towards the back of your bike, so they don’t get caught on anything.
And then CHECK it all over!
Take a quick roll around to make sure everything is working properly, and if you’re carrying any cargo that you’re well balanced.
More of a visual learner? Check out this video from our friends at the League of American Bicyclists:
Learn more tips on our Resources Page.
This blog post is produced thanks to support from the Governor’s Office of Highway Safety.
SPD conducts road closures and detours in support of the Enmarket Savannah Bridge Run
The Savannah Police Department will conduct road closures and detours along the route of the Enmarket Savannah Bridge Run on Saturday, Dec. 2, from 7:15 a.m. to 11:30 a.m.
Traffic along the Talmadge Memorial Bridge will remain open with a lane closed in both directions. Streets along the run route will reopen on a rolling basis after the last participant passes and course materials are removed.
Residents and business owners along the route are asked to plan ahead and be aware of the road closure schedule. Pedestrians and bicyclists will be allowed to cross the route as gaps present themselves and officers allow.
For a route map please visit: https://www.savannahsportscouncil.com/our–events/savannah–bridgerun/race–weekend/road–closures/
For additional information on the event please visit: https://www.savannahsportscouncil.com/ourevents/savannah–bridge–run/
How to Lock Your Bike
Nothing ruins your ride faster than having your bike stolen! Here are some steps you can take to seriously reduce the likelihood of that happening.
- Use a U-lock. Cable locks can be cut more easily than you might think. Cheaper and older U-locks can often be broken without any tools. Sourcing your U-lock from a local bike shop is a good way to make sure you’re buying a quality product.
- Don’t make it easy to steal! Bike thieves love low hanging fruit, and nothing deters them like the presence of a quality lock. Many thefts are crimes of opportunity, so make your bike the hardest one on the rack to steal.
- Lock the frame first. Try to secure the wheels and seat, too. Your bike frame happens to be the most expensive part; make sure you lock it to something secure. Use a secondary cable to lock the wheels and seat. In many cases a U-lock can be used to lock both the frame and rear wheel. Accessories (lights, pumps, etc) are commonly stolen items. Take them with you.
- Your lock is only as good as what it is locked to. Make sure whatever you locked up to isn’t going anywhere. Be mindful that trees and wood can be cut or kicked through.
- Your garage, shed, or storage room isn’t as safe as you think. Even if you have parked your bike in a “secure location” be sure to lock it to something. Bikes are commonly stolen from garages or shared basements.
- Document it! Take pictures of your bike, record the serial number, and where possible list your bike on your insurance.
- After you’ve done that, make sure to register your bike with Savannah Police Department and Bike Index. The Bike Index makes stolen bikes harder to sell and easier to recover by making sure important information about your bike is there when you need it the most. The process is simple, secure, and free.
View our map of bike racks in Savannah here:
This blog post is produced thanks to support from the Governor’s Office of Highway Safety.
Halloween Safety Tips
Everyone loves a good scare on Halloween, but we also want it to be a treat! Whether you’re out with your little ghosts, goblins and vampires or heading out on your own adventure, below are steps you can take to make sure the little trick-or-treaters make it home ok.
On average, children are more than twice as likely to be hit by a car and killed on Halloween than on any other day of the year. More kids out on our streets = more opportunities for potential collisions.
Below are our top tips for Halloween Safety:
- Adults, join kids under age 12 for trick-or-treating. For older kids, make sure they have a designated route, time/place to meet up, and a cell phone to get in touch if needed.
- Carry glow sticks or flashlights, use reflective tape or stickers on costumes, shoes and bags, and wear lighter colors (if possible) to help kids see and be seen by drivers.
- Remind kids to cross the street at corners or crosswalks wherever possible. Look left, right and left again when crossing and keep looking as you cross.
- Always walk on sidewalks or paths. If there are no sidewalks, walk facing traffic as far to the left as possible.
- When selecting a costume, make sure it is the right size to prevent trips and falls. Try out all pieces of a costume before Halloween to make sure your kid can move freely. And choose face paint over masks when possible, as masks can limit children’s vision.
- Remove tripping hazards to keep your home safe for visiting trick-or-treaters. Check outdoor lights and replace burned-out bulbs, and sweep any leaves from sidewalks and steps.
Driving Tips:
- Drivers – slow down and be alert! Turn on headlights earlier in the day to spot kids from further away.
- Avoid driving through densely populated neighborhoods between 5-9 pm (or if you do, be prepared for delays.) Many neighborhoods post trick or treating maps which may help you plan your route.
- Avoid any distractions. Even if you’re using hands free devices, avoid any phone calls and lower your music/drive with windows down if possible when in neighborhoods.
- Take extra time to look for kids at intersections, on medians, and at curbs.
- Enter and exit driveways and lanes slowly and carefully.
- Wait behind other vehicles that are pulled over – do not go around. They may be dropping off a group of children who could be coming out on both sides of the vehicle.
- If you’re partying, stay sober or find another ride home.
Signaling & Scanning
You should always let others know when you are turning, changing lanes or stopping — both for safety reasons, and because it’s the law.
While cars and motorcycles have devices built in, like turn signals and brake lights, we have to rely on our arms to signal our intent on a bike.
Signaling
- Left Turn: Fully extend your left arm out to the side.
- Right Turn: Fully extend your right arm out to the side or bend your left arm up at a right angle with your hand flat. Both are legal signals, and depend on your level of comfort with which arm you use.
- Slowing or Stopping: Extend your left arm at a right angle with your hand open and pointing down towards the ground.
Scanning
Scanning is the act of looking over your shoulder, and is a key part of riding anywhere. It helps communicate your intentions to others and also shows you what is happening behind or around you.
Pro Tip: It may be difficult to scan and maintain a straight line while riding. Start by practicing scanning on a stationary bike to see your range of motion. You may want to purchase a mirror to help if you have limited range. Once you start practicing on a moving bike, if you have trouble maintaining a straight line you may want to try removing your hand (from the direction you are scanning) from the handlebars and place it on your lower back. This helps prevent your body from fully turning and pulling the handlebars. And make sure to keep peddling while scanning!
Scanning should be used in conjunction with signaling — you should scan before any turn and before making any signal.
This blog post is sponsored in part by a generous grant from the Governor’s Office of Highway Safety.